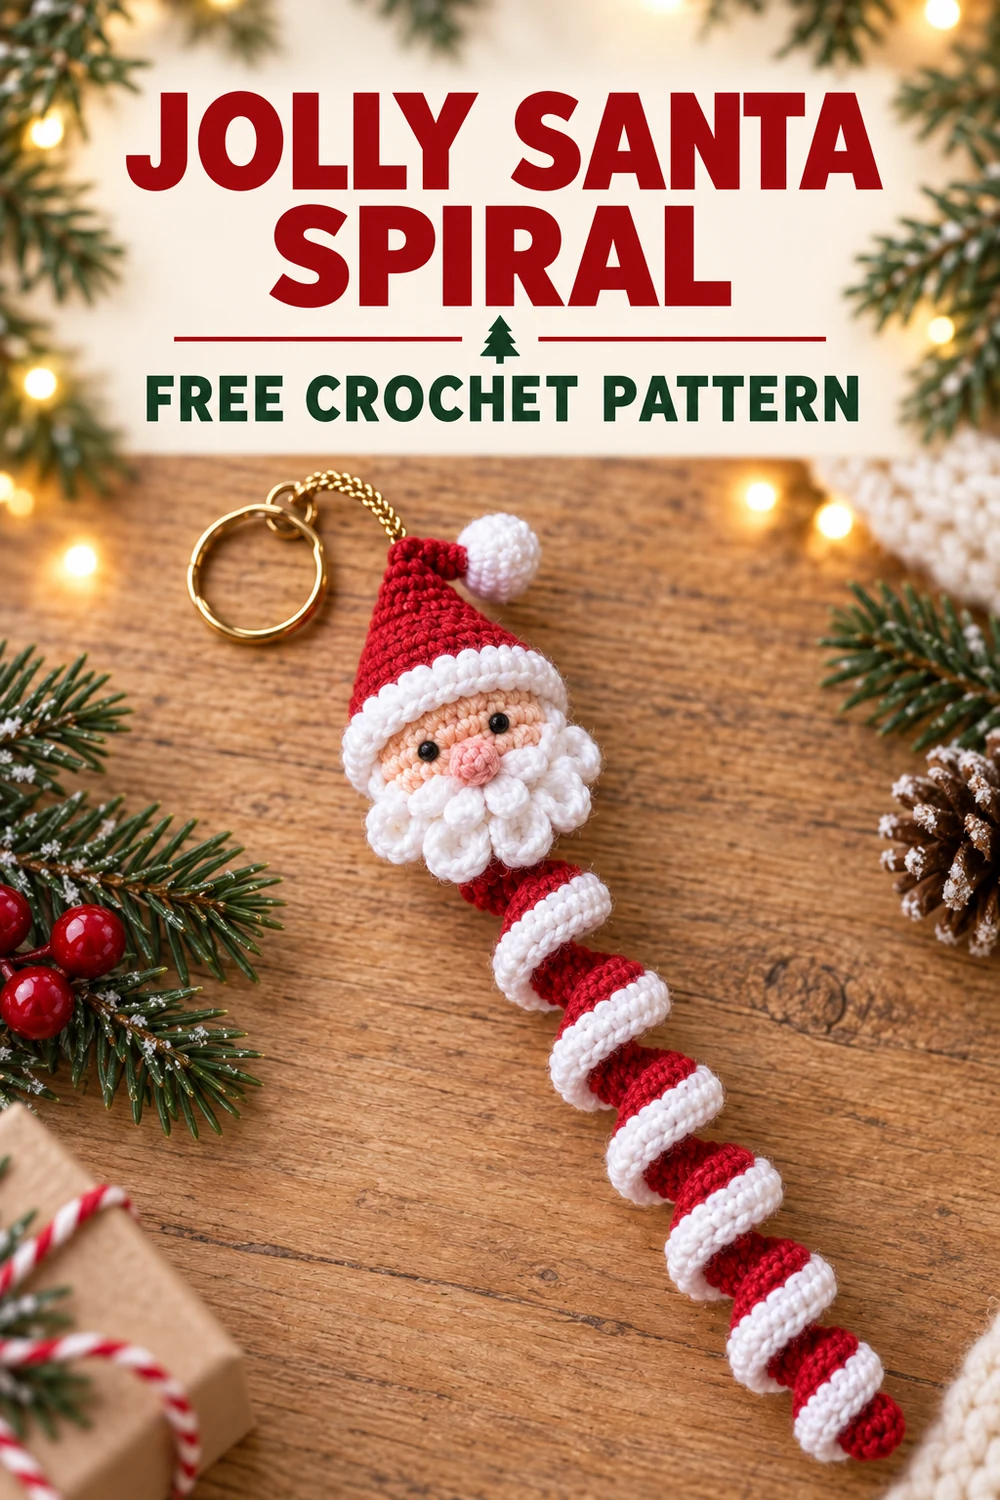
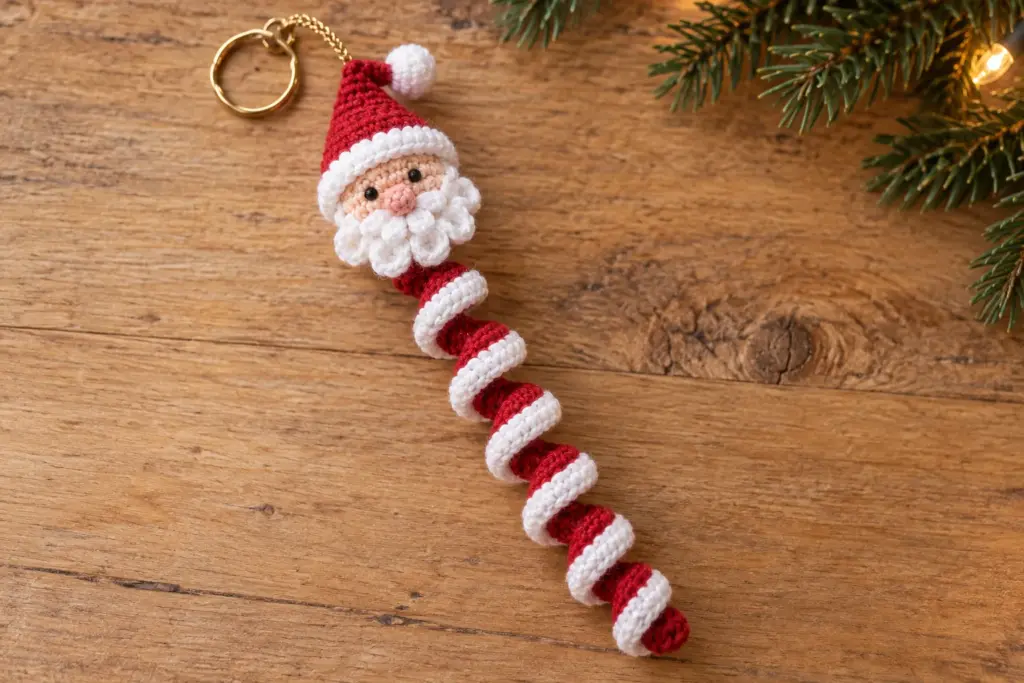
This jolly little Santa combines a cheerful crocheted face with a bouncy peppermint-colored spiral. Clip him to a tote or set of keys, or use the gold cord to hang him from a Christmas tree, gift bag, or stocking hook.
The pieces are small and portable, and the construction uses familiar stitches. The spiral looks impressive but forms naturally when several stitches are worked into each foundation chain—no wire is needed.
Pattern at a Glance
- Pattern type: Christmas ornament and keychain
- Skill level: Confident beginner
- Terminology: US crochet terms
- Yarn weight: Worsted weight (Category 4)
- Recommended hook: 3.5 mm (E/4)
- Approximate time: 2–3 hours
- Finished size: About 7 in (18 cm) long, excluding hanging loop
- Construction: Small pieces worked in joined or continuous rounds, plus one spiral worked into a foundation chain
- Pattern style: Component-based, lightly stuffed
About This Pattern
The ornament begins with two small circles joined around a whisper of stuffing to make Santa’s head. A tapered hat is crocheted from the tip down, while five tiny corkscrew pieces create a full, dimensional beard. The long red spiral is the simplest part: three double crochets in every foundation chain force the fabric to curl. A row of white single crochet along its outer edge creates the candy-cane look seen in the finished project.
The keyring and hanging cord share the reinforced top of the hat. That means you can display the piece as an ornament without removing the hardware, or clip it to keys and bags. Because small crocheted attachments and metal hardware can be choking hazards, this design is decorative and is not intended as a toy.
Why You’ll Love This Pattern
- The springy spiral forms on its own as you crochet.
- Small amounts of leftover yarn are enough for every color.
- Embroidered facial features keep the expression soft and friendly.
- The same finished piece works as an ornament, gift topper, or keychain.
- Each component can be remade individually if you want to practice before assembly.
Materials You’ll Need
- Category 4 worsted-weight acrylic yarn: about 18 yd (16 m) cranberry red, 14 yd (13 m) warm white, 8 yd (7 m) peach, and 1 yd (1 m) dusty pink
- Small length of black yarn or black embroidery floss
- 3.5 mm (E/4) crochet hook
- Small amount of polyester fiberfill
- Yarn needle, scissors, and stitch marker
- 1 in (25 mm) split keyring
- About 8 in (20 cm) thin gold hanging cord
Yarn & Color Suggestions
A smooth acrylic yarn gives the small stitches clear definition and makes the ornament easy to spot-clean. Cranberry red, warm white, peach, and dusty pink create the classic palette shown here. For a vintage look, try brick red and cream; for a playful version, swap red for teal while keeping the white trim. Use yarns of the same weight so the hat, head, beard, and spiral remain proportional.
Gauge
Exact gauge is not critical for this decorative project. Aim for a firm fabric with no large gaps: approximately 5 single crochet stitches and 5 rounds per 1 in (2.5 cm). If stuffing shows through, use a smaller hook; if the pieces feel stiff and difficult to work, move up 0.25–0.5 mm.
Finished Measurements
Approximately 7 in (18 cm) from hat tip to spiral tip and 2.5 in (6.5 cm) across the beard. The spiral alone measures about 4.5 in (11.5 cm) relaxed. Handmade measurements will vary slightly with yarn and tension.
Crochet Abbreviations
- ch — chain
- dc — double crochet
- hdc — half double crochet
- inc — work 2 single crochet in the same stitch
- dec — single crochet 2 stitches together
- MR — magic ring
- sc — single crochet
- sl st — slip stitch
- st(s) — stitch(es)
Important Pattern Notes
- The head circles are worked in joined rounds. Join each round with a slip stitch to the first stitch; the joining slip stitch does not count as a stitch.
- The hat and pom-pom are worked in continuous rounds. Mark the first stitch and move the marker each round.
- Beginning chains on the spiral do not count as stitches unless stated.
- Fasten off with long sewing tails where instructed.
- Stuff the head and pom-pom lightly. Overstuffing will distort the circles.
- The finished item contains small parts and metal hardware and is not suitable as a baby or toddler toy.
Complete Free Crochet Pattern
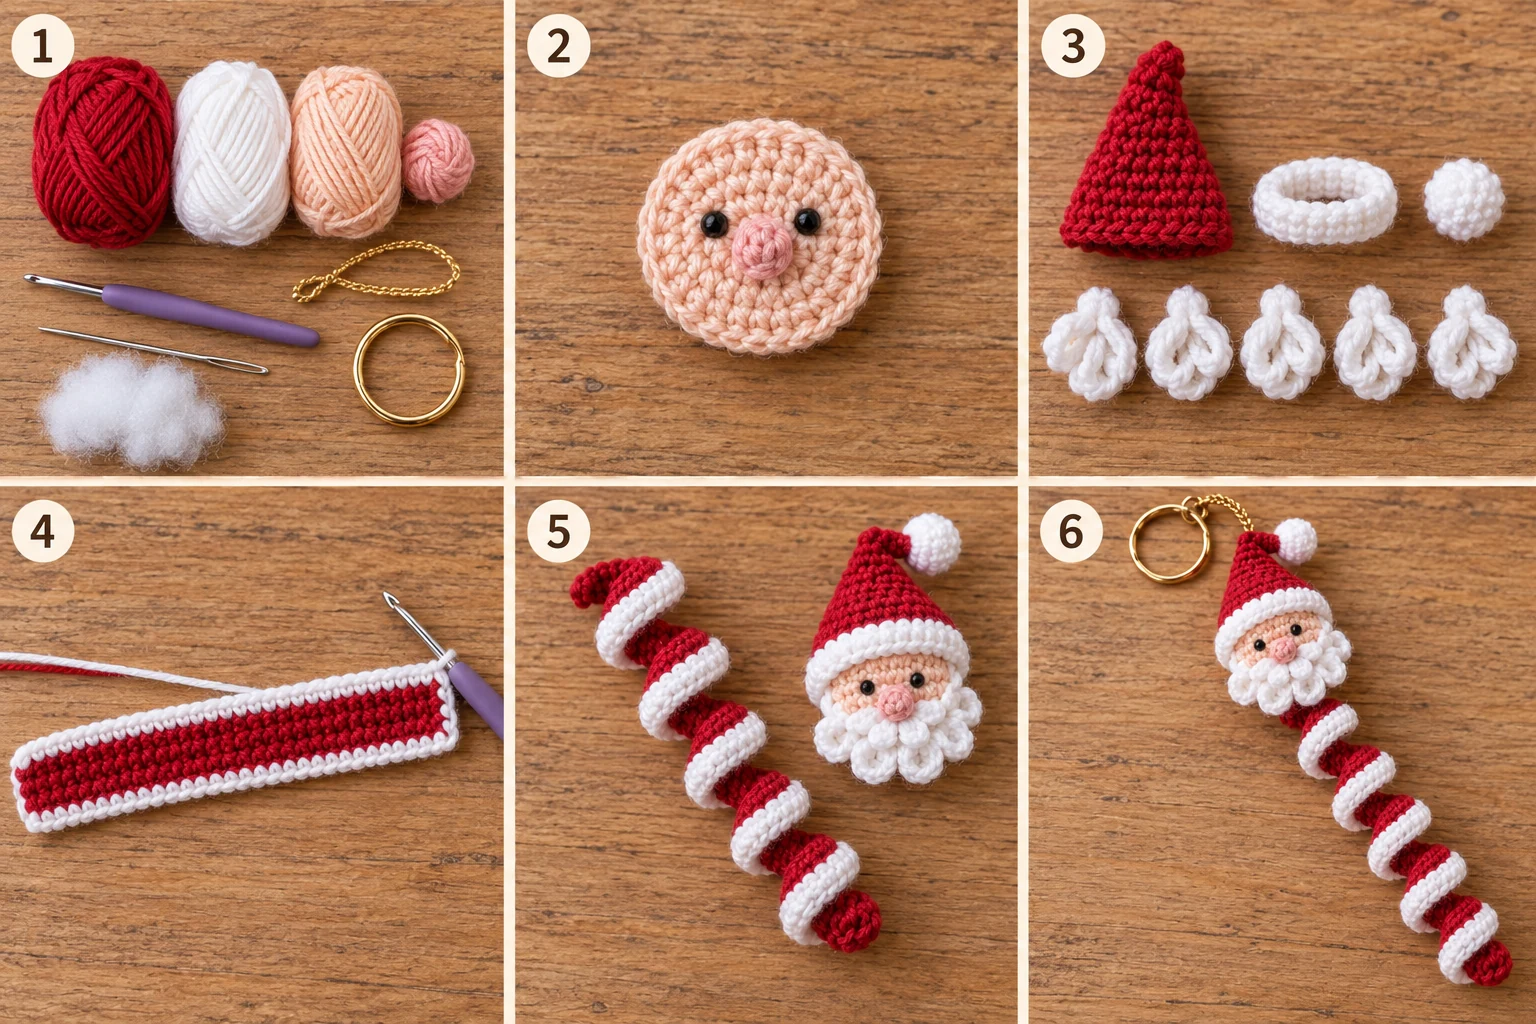
Part 1 — Santa Face
Color: Peach. Make 1.
Round 1: Make 6 sc in MR; join. (6)
Round 2: Ch 1, inc in each st around; join. (12)
Round 3: Ch 1, [sc in next st, inc in next st] 6 times; join. (18)
Round 4: Ch 1, [sc in next 2 sts, inc in next st] 6 times; join. (24)
Round 5: Ch 1, [sc in next 3 sts, inc in next st] 6 times; join. (30)
Fasten off and weave in the tail.
Part 2 — Head Back
Color: Warm white. Make 1.
Repeat Rounds 1–5 of the Santa Face. Do not fasten off. Place the face and back together with wrong sides touching. Ch 1 and sc through both layers in each stitch around, adding a small amount of stuffing before closing the final 5 stitches. Join with a sl st. (30 joining sc)
Fasten off, leaving a 12 in (30 cm) tail for attaching the spiral.
Part 3 — Facial Features
With black floss, make two small straight-stitch eyes between Rounds 3 and 4, about 4 stitches apart. Pass each stitch twice for definition, then secure the ends on the back of the face before the hat and beard are attached.
With dusty pink yarn, make three short horizontal stitches centered one round below the eyes. Wrap a fourth stitch vertically around them to form a tiny raised nose. Secure firmly.
Part 4 — Santa Hat
Color: Cranberry red. Make 1. Work in continuous rounds.
Round 1: Make 4 sc in MR. (4)
Round 2: [Sc in next st, inc in next st] twice. (6)
Round 3: Sc in each st around. (6)
Round 4: [Sc in next 2 sts, inc in next st] twice. (8)
Round 5: Sc in each st around. (8)
Round 6: [Sc in next 3 sts, inc in next st] twice. (10)
Round 7: Sc in each st around. (10)
Round 8: [Sc in next 4 sts, inc in next st] twice. (12)
Round 9: [Sc in next st, inc in next st] 6 times. (18)
Round 10: Sc in each st around. (18)
Fasten off, leaving a long sewing tail. Flatten the lower half of the cone gently; do not stuff.
Part 5 — Hat Brim
Color: Warm white. Make 1.
Ch 20. Starting in the second ch from the hook, hdc in each ch across. (19)
Fasten off, leaving a long tail. The strip should span the upper half of the face with a slight curve.
Part 6 — Hat Pom-Pom
Color: Warm white. Make 1. Work in continuous rounds.
Round 1: Make 6 sc in MR. (6)
Round 2: Inc in each st around. (12)
Round 3: Sc in each st around. (12)
Round 4: Dec 6 times. (6)
Add a pinch of stuffing. Fasten off, leaving a tail. Thread the tail through the front loops of the remaining stitches and pull closed.
Part 7 — Beard Curls
Color: Warm white. Make 5.
Ch 8. Work 3 hdc in the second ch from the hook and in each remaining ch. (21 hdc)
The piece will curl naturally. Fasten off, leaving a 6 in (15 cm) sewing tail. Coil each curl lightly around the hook handle if it needs help taking shape.
Part 8 — Red-and-White Spiral
Color: Begin with cranberry red. Make 1.
Foundation: Ch 41.
Row 1: Work 3 dc in the second ch from the hook and 3 dc in each remaining ch across. (120 dc)
Fasten off red. The strip will twist into a spiral as the row grows.
White edging: With the red spiral facing you, join warm white with a sl st in the top of the first dc. Ch 1, sc in the top of each dc across. (120 sc)
Fasten off, leaving a 12 in (30 cm) tail at the head end. Run your fingers down the spiral to arrange approximately 6–8 even turns; do not pull it straight.
Part 9 — Hanging Loop
Cut an 8 in (20 cm) length of gold cord. Fold it in half and tie the cut ends together with a secure overhand knot. The finished loop should measure about 3.5 in (9 cm). Do not crochet the cord.
Assembly
- Center the red hat over the top half of the face with the tip leaning slightly to one side. Sew the back edge of the hat to the white head back, then tack the front edge to the peach face along Round 5.
- Curve the white brim across the lower edge of the hat. Sew it in place without covering the eyes.
- Sew the pom-pom to the hat tip.
- Arrange three beard curls across the bottom of the face and two above them at the cheeks. Sew only the top 2–3 stitches of each curl so the loops stay dimensional and the nose remains visible.
- Place the upper end of the spiral behind the bottom center of the head. Use both long tails to stitch it through the head-back fabric several times. Knot securely and bury the ends.
- Pass the knotted end of the gold loop through the top of the hat from inside to outside before closing the attachment point. Sew around the cord knot so it cannot slip through.
- Thread the hanging loop through the split keyring, or open the split ring and feed the loop onto it. Tug gently on the ring, cord, head, and spiral to test every connection.
Finishing
Weave in all remaining ends and trim neatly. Shape the hat and beard with your fingers, then let the spiral hang for a few minutes so its turns settle. Acrylic yarn usually does not need blocking for this project. If the face needs flattening, place it under a dry book for an hour before attaching the hardware; avoid high heat, which can damage acrylic fibers.
Ways to Customize Your Pattern
- Use brick red and cream for a vintage Santa or bright red and optic white for a crisp modern look.
- Make a shorter bag charm with ch 26 and work 3 dc in each of the 25 chains; the edging count becomes 75 sc.
- For an ornament without metal hardware, omit the keyring and keep only the cord loop.
- Add a tiny embroidered snowflake to the hat after assembly, keeping the stitches flat and lightweight.
- Use sport-weight yarn and a 2.75 mm hook for a smaller version; all parts must use the same yarn weight.
Common Mistakes to Avoid
- Skipping a foundation chain in the spiral, which creates an uneven turn.
- Working only two double crochets per chain; three are needed to force the corkscrew shape.
- Overstuffing the head so the front becomes domed and hides the features.
- Sewing the full length of each beard curl flat against the face.
- Attaching the hardware only to the pom-pom instead of anchoring it through the hat.
Troubleshooting
The spiral barely curls: Confirm that you worked 3 dc in every foundation chain. Gently twist the strip in its natural direction after adding the edging.
The face ripples: Your tension may be loose. Lightly stuff and join it to the back circle; if it still ripples, remake it with a smaller hook.
The hat brim is too long: Adjust the starting chain by one or two chains so it spans the face without buckling, then record the new hdc count.
The ornament hangs sideways: Reposition the cord knot at the center back of the hat and make sure the spiral is attached at the center bottom of the head.
Care Instructions
Spot-clean with cool water and a small amount of mild detergent. Blot in a towel, reshape, and dry flat. Do not machine-dry or iron. Keep the metal ring dry to reduce tarnishing, and store the ornament flat or loosely coiled so the beard and spiral are not crushed.
Frequently Asked Questions
Can a beginner make this Santa spiral?
Yes, if you are comfortable with single crochet, half double crochet, double crochet, simple increases and decreases, and sewing small pieces together.
Can I use a different yarn weight?
Yes. Use the same weight for every crocheted component and choose a hook that produces a firm fabric. The finished size and yarn requirements will change.
Why does the spiral have more stitches than the starting chain?
Each of the 40 foundation chains receives 3 double crochets, producing 120 stitches. That extra fabric is what creates the curl.
Can I use safety eyes?
Tiny safety eyes may be used for a decorative version, but embroidered eyes are lighter and avoid adding another hard component. Neither version should be given to a baby or toddler.
How do I turn it into only an ornament?
Leave off the split keyring and attach the knotted gold cord loop exactly as directed.
Can I make a garland?
Yes. Make several ornaments without keyrings and tie their hanging loops to a sturdy cord, spacing them evenly. Keep the garland out of reach of young children.