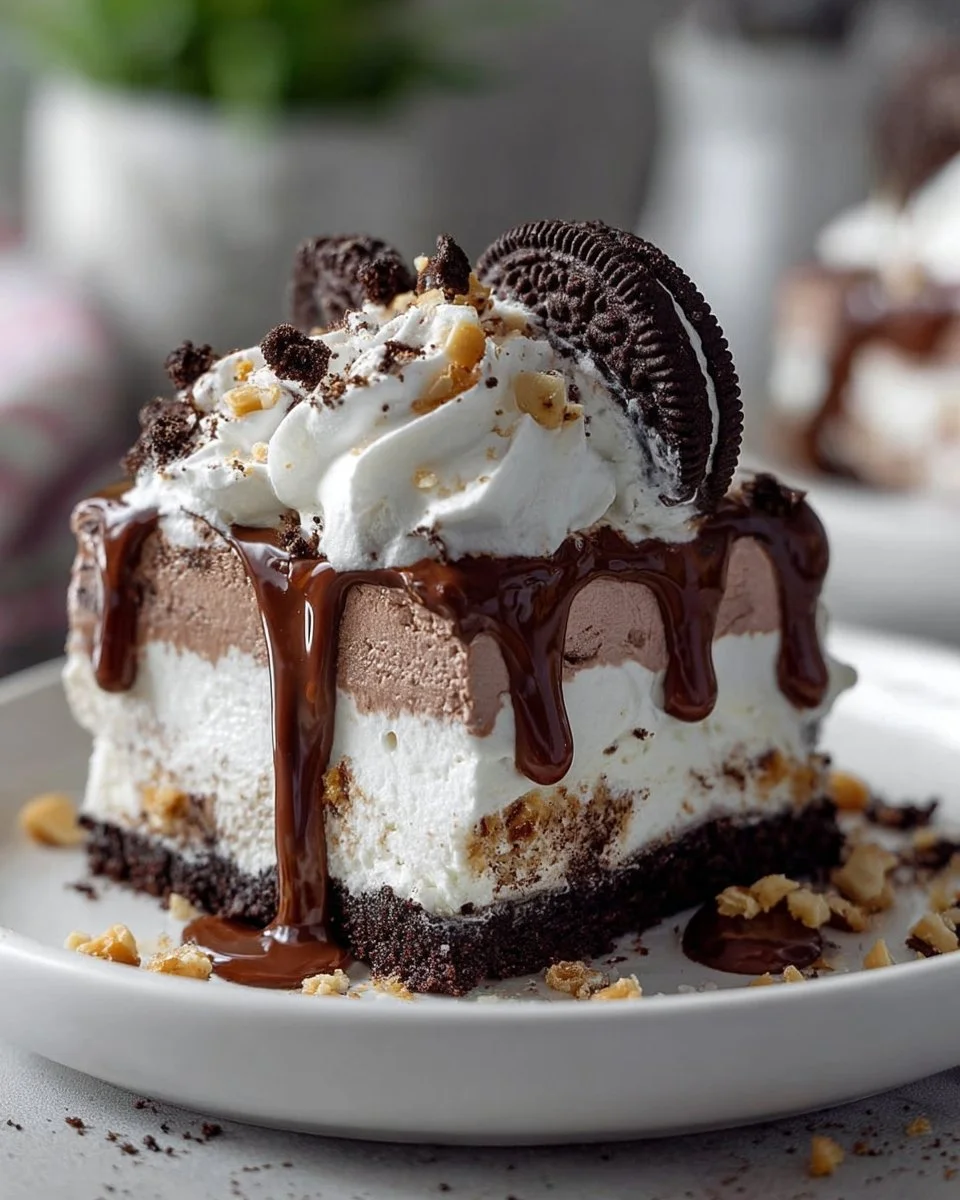
When the warm sun shines down and the days grow longer, nothing quite compares to the joy of slicing into a luscious, homemade ice cream cake. Picture this: layers of creamy, velvety ice cream, nestled in a crunchy, chocolatey crust, with all the flavors melding into one delicious bite. Our Copycat Dairy Queen Ice Cream Cake promises just that—a delightful symphony of textures and tastes that dances on your palate. Each mouthful reveals a delightful balance of rich flavors, whether it’s the sweet vanilla, the deep chocolate, or even a swirl of mint.
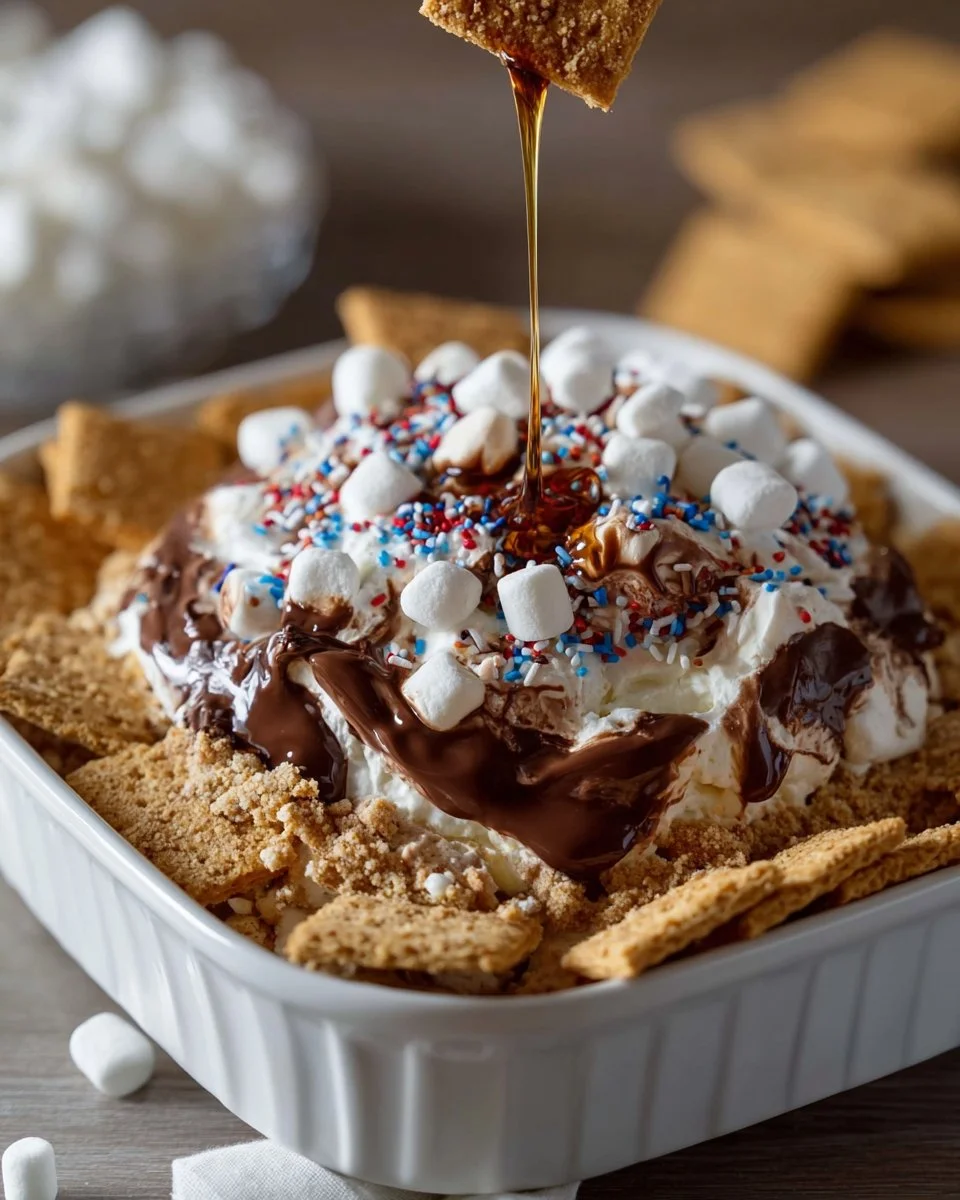
As you dig your spoon in, the chilled, silky layers melt gently, releasing a sweet aroma that beckons you for more. The cool creaminess contrasts beautifully with the slight crunch of crushed Oreos and nuts, forging a delicious harmony that’s simply irresistible. The drizzle of chocolate syrup adds an indulgent touch that transforms this cake into a celebration-worthy dessert. There’s a sense of nostalgia that fills the air, as this cake brings back memories of joyous summer celebrations, family gatherings, and blissful sweet moments that linger long after the last bite.
Whether celebrating a birthday, an anniversary, or simply savoring a sweet night in, this Copycat Dairy Queen Ice Cream Cake will outshine all your dessert dreams. It suits every occasion and makes the most ordinary days feel extraordinary. Let’s dive into the magic of this cake, ensuring that you create a treat that not only pleases your taste buds but also warms your heart.
Why You’ll Love This Copycat Dairy Queen Ice Cream Cake
The charm of making your own ice cream cake lies in its versatility. This dessert allows you to customize each layer with your favorite flavors, making it perfect for everyone at the table. You have full control over ingredients, ensuring freshness and quality. It’s a showstopper that impresses without requiring extensive skills or hard-to-find ingredients.
Imagine serving a slice of this cake to friends or family. The delighted gasps and the smiles that break out as they dig their spoons in create an atmosphere filled with joy. Every bite carries a wave of nostalgia and comfort, reminding us of simpler times spent indulging in sweet treats. Whether it’s a hot summer afternoon or a cozy winter gathering, this ice cream cake elevates any moment into something truly special.
Preparation Phase & Tools to Use
Embarking on your ice cream cake journey requires a few essential tools that will make your baking experience smooth and enjoyable. Here’s what you’ll need:
- Springform Pan: This is essential for assembling and serving the cake. Its removable sides allow for easy cake removal, so your beautifully layered creation remains intact.
- Food Processor or Zip-Top Bag: Both will help crush Oreos into fine crumbs that form the crust. The texture of the crust is crucial, providing the perfect contrast to the creamy layers above.
- Mixing Bowl: A sturdy bowl for combining the Oreo crumbs with melted butter ensures that your crust holds together beautifully.
- Spatula: This handy tool will help smooth out the layers of ice cream, allowing you to achieve a professional touch without the fuss.
Preparation tips: Make sure your ice cream is slightly softened before layering, as it will spread better. A warm spatula can also help create a perfect surface on your ice cream layers.
Ingredients for Copycat Dairy Queen Ice Cream Cake
- 2 pints of ice cream (your favorite flavors): Choose any combinations like classic chocolate and vanilla, or get adventurous with mint chocolate chip and cookies and cream. The sky’s the limit!
- 1 package of Oreo cookies: These iconic cookies add the perfect crunch and chocolatey depth, but feel free to switch them out for another cookie if desired.
- 1/2 cup of chocolate syrup: This dreamy syrup offers a rich, sweet drizzle that elevates the entire cake experience.
- 1/2 cup of whipped cream: This creamy, light topping provides a fluffy finish for your cake.
- 1/4 cup of crushed nuts (optional): If you crave a bit of crunch, nuts like pecans or walnuts can add delightful texture and flavor.
Using high-quality ice cream makes a noticeable difference in taste and creaminess. If you need to alter the ingredient selection due to dietary restrictions, using non-dairy ice cream works beautifully!
How to Make Copycat Dairy Queen Ice Cream Cake
-
Crush the Oreos: Begin by placing the Oreo cookies into a food processor or a zip-top bag. Crush them until they reach a fine crumb texture that will hold together beautifully in the crust.
-
Combine with Butter: In a mixing bowl, mix the Oreo crumbs with melted butter until well combined. A little melted butter helps the crumbs form the perfect base.
-
Form the Crust: Press the Oreo and butter mixture firmly into the bottom of your springform pan, creating an even layer that forms the foundation of the cake.
-
Freeze the Crust: Place the crust in the freezer for about 10 minutes to set. This will help it firm up and provide a solid layer to support the ice cream.
-
Add the Ice Cream: Scoop one pint of your favorite ice cream onto the set crust, smoothing it out with a spatula to create a flawless first layer. The ice cream should be pliable but not overly soft.
-
Drizzle Chocolate Syrup: Generously drizzle chocolate syrup over the first layer of ice cream, letting it cascade into the crevices and spread joyfully.
-
Freeze Again: Place the cake back in the freezer for 15-20 minutes to allow the first layer to firm up before adding the next.
-
Layer More Ice Cream: Once the layer is set, scoop the second pint of ice cream on top, smoothing it out until even. Another beautiful layer takes shape!
-
Final Freeze: Allow the cake to freeze until firm for about 2 hours. Patience pays off—the longer it freezes, the more stable it becomes.
-
Decorate & Serve: Before serving, adorn the top with whipped cream and sprinkle on crushed nuts if using—for that extra touch of pizazz. Slice, serve, and watch the joy unfold as everyone dips into the deliciousness.
Chef’s Notes & Helpful Tips
-
Make-Ahead Tips: You can prepare this cake a day in advance. Storing it overnight allows flavors to meld and the layers to freeze thoroughly.
-
Cooking Alternatives: While this recipe requires freezing, you can customize it by using an ice cream maker to churn your favorite flavors for added freshness.
-
Customization Ideas: Switch up the flavors by using fruity sorbets or gelato for a different texture and taste. You can also vary the toppings—try fresh fruit or caramel sauce for additional flavor depth.
Common Mistakes to Avoid
One of the most common mistakes is not allowing the ice cream to soften enough before spreading, which can make layering difficult. Instead, leave it out at room temperature for about 10 minutes before you begin. Another pitfall is not freezing each layer adequately before adding the next; this can cause layers to mix instead of sitting nicely above each other. Lastly, ensure your crust mixture is well-combined so that it holds together when sliced.
What to Serve With Copycat Dairy Queen Ice Cream Cake
Pair this delightful cake with:
- Fresh Berries: Strawberries or raspberries provide a tangy freshness that cuts through the richness.
- Chocolate Sauce: Drizzling additional warm chocolate sauce over the cake enhances its decadence.
- Espresso or Coffee: A warm cup of coffee beautifully balances the sweetness of the ice cream cake.
- Coconut Whipped Cream: For those who love coconut, this adds a delightful tropical touch.
- Fizzy Drinks: A sparkling soda or homemade lemonade brightens up the dessert experience.
- Granola: For added crunch, serve with a sprinkle of granola on top of the cake.
- Toasted Coconut Flakes: Sprinkle some toasted coconut on top of the whipped cream for a tropical flair.
Storage & Reheating Instructions
Store leftover ice cream cake in the freezer, well-wrapped in plastic wrap and then in foil to prevent freezer burn. It should last for up to one month. When you’re ready to enjoy more cake, remove it from the freezer and slice while still frozen, allowing individual pieces to sit at room temperature for a few minutes for a perfect creamy texture.
Estimated Nutrition Information
Approximately:
- Calories: 400 per slice
- Protein: 5g
- Carbs: 43g
- Fat: 24g
(Macronutrient values will vary based on ingredient brands and specific amounts used.)
FAQs
1. Can I use a different type of cookie for the crust?
Absolutely! While Oreos offer a delightful chocolate flavor, any chocolate cookie can work beautifully. Consider using double-stuffed Oreos for an extra creamy texture.
2. How do I know when my ice cream is the right consistency for layering?
Ice cream should be slightly softened but not melting. Achieving the right temperature allows for easier spreading without damaging the base layer.
3. Can I use non-dairy ice cream?
Yes! This recipe works wonderfully with any non-dairy ice cream or frozen yogurt, making it suitable for those with dairy restrictions.
4. How can I make this cake healthier?
You can substitute low-fat or sugar-free ice cream and use whole-grain cookies for the crust. Reducing the amount of chocolate syrup also helps lighten the dessert.
5. Can I do this without a springform pan?
While a springform pan is ideal for clean slices, you can use any standard cake pan. Just be careful when removing the cake. A parchment-lined round pan works well, too!
Conclusion
Creating your Copycat Dairy Queen Ice Cream Cake at home not only fills your kitchen with the sweet, nostalgic aroma of whipped cream and chocolate but also fills your heart with warmth as you share it with loved ones. Each layer sings a melody of flavors and textures that invites laughter and joy into every bite. So, don’t wait—gather your favorite ingredients, roll up your sleeves, and embark on this delightful baking adventure. In no time, you’ll serve up a masterpiece that brings delicious smiles all around. Time to dig in!
Print
Copycat Dairy Queen Ice Cream Cake
- Prep Time: 30 minutes
- Cook Time: 120 minutes
- Total Time: 150 minutes
- Yield: 8 servings 1x
- Category: Dessert
- Method: Freezing
- Cuisine: American
- Diet: Vegetarian
Description
A delightful homemade ice cream cake featuring layers of creamy ice cream and a crunchy Oreo crust, perfect for any celebration.
Ingredients
- 2 pints of ice cream (your favorite flavors)
- 1 package of Oreo cookies
- 1/2 cup of chocolate syrup
- 1/2 cup of whipped cream
- 1/4 cup of crushed nuts (optional)
Instructions
- Crush the Oreos: Place the Oreo cookies into a food processor or a zip-top bag and crush them until they reach a fine crumb texture.
- Combine with Butter: In a mixing bowl, mix the Oreo crumbs with melted butter until well combined.
- Form the Crust: Press the Oreo and butter mixture firmly into the bottom of your springform pan.
- Freeze the Crust: Place the crust in the freezer for about 10 minutes to set.
- Add the Ice Cream: Scoop one pint of your favorite ice cream onto the set crust, smoothing it out with a spatula.
- Drizzle Chocolate Syrup: Generously drizzle chocolate syrup over the first layer of ice cream.
- Freeze Again: Place the cake back in the freezer for 15-20 minutes to allow the first layer to firm up.
- Layer More Ice Cream: Scoop the second pint of ice cream on top, smoothing it out until even.
- Final Freeze: Allow the cake to freeze until firm for about 2 hours.
- Decorate & Serve: Before serving, adorn the top with whipped cream and sprinkle on crushed nuts if using.
Notes
For best results, let ice cream soften slightly before layering. Use high-quality ice cream for improved flavor.
Nutrition
- Serving Size: 1 slice
- Calories: 400
- Sugar: 22g
- Sodium: 300mg
- Fat: 24g
- Saturated Fat: 12g
- Unsaturated Fat: 6g
- Trans Fat: 0g
- Carbohydrates: 43g
- Fiber: 2g
- Protein: 5g
- Cholesterol: 30mg